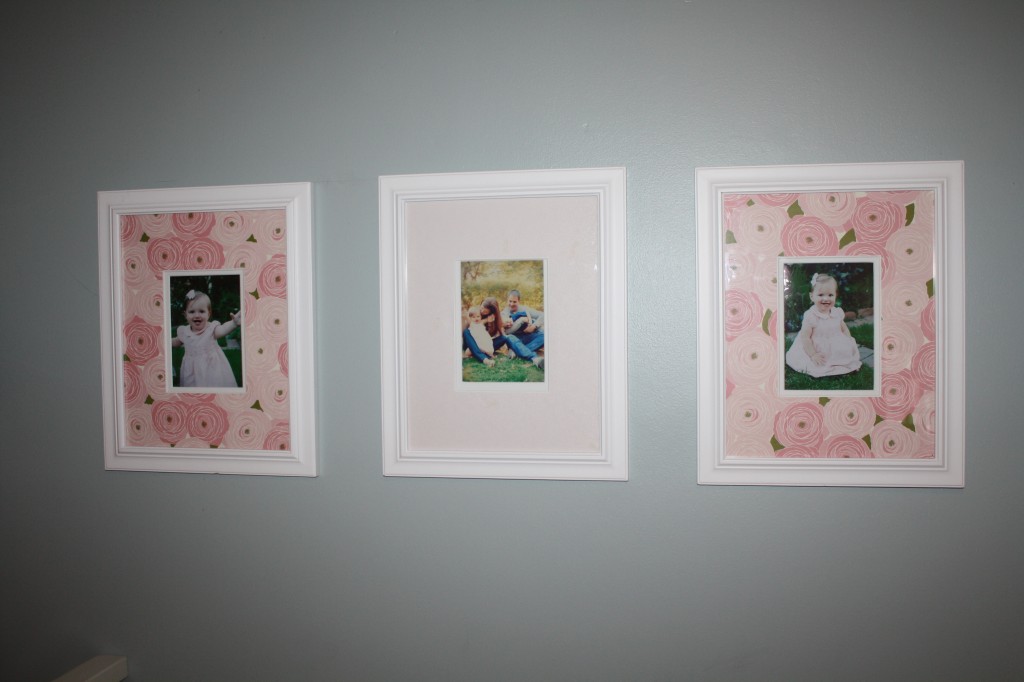
Today we have our friend, Bridget, showing us how to spice up those boring picture frame mats! This is a super easy project and in fact, we recently completed this in a craft club which allowed us to come home with a finished product (proving to the husbands that we do accomplish something on these craft nights) and it didn’t take all of our concentration that we could enjoy a cocktail!
Here are Bridget’s step-by-step instructions:
Step 1 – Gather your supplies: Decorative paper, a photo mat, a cutting mat, an X-acto knife and double-sided tape
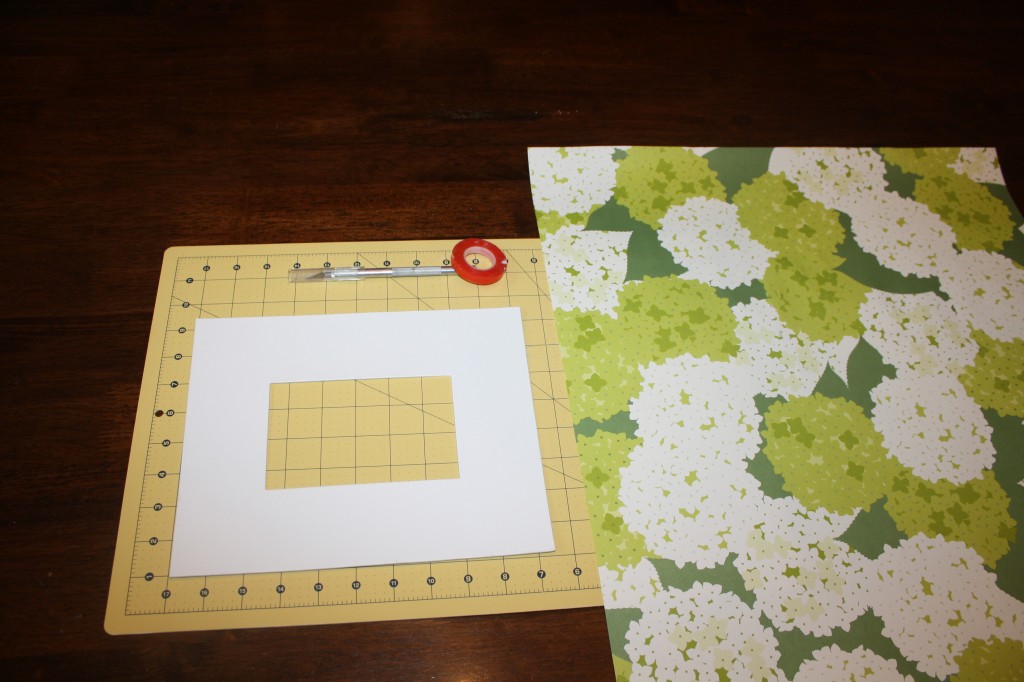
Step 2 – Place the paper on the cutting mat. Set the photo mat on top of the paper, lined up with one corner.
Step 3 – Drag your knife along the uncut sides of the photo mat, as close to the edge of the mat as possible.
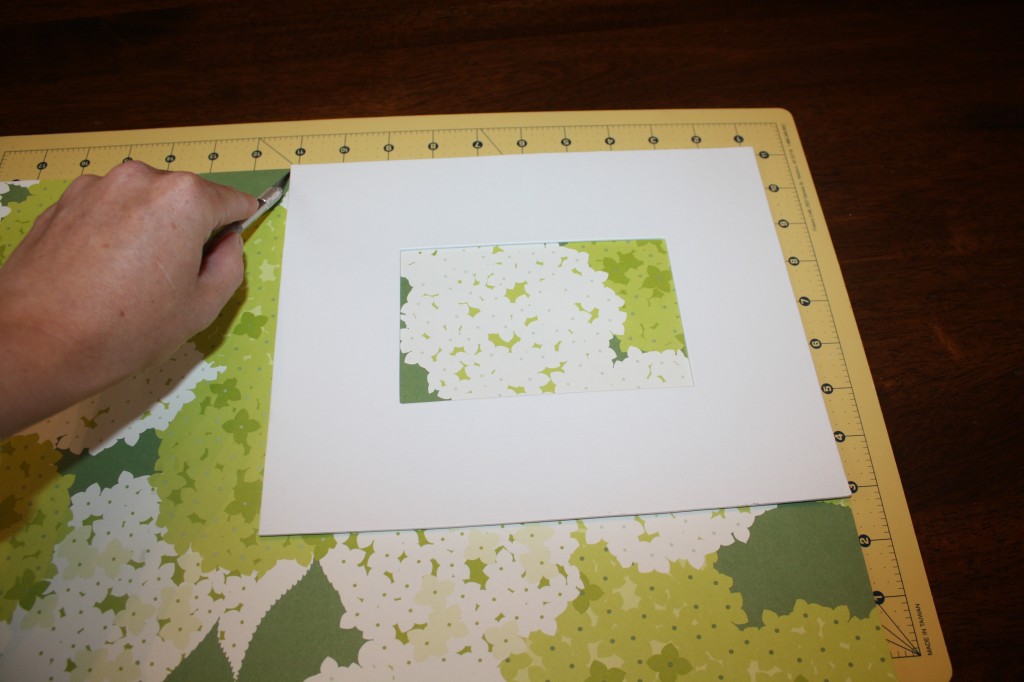
Step 4 – Making sure the mat is perfectly lined up with the paper, drag your knife along the inside of the mat to remove the center.
Step 5 – Using your knife, carefully cut out any spots that didn’t cleanly cut. The corners will likely need some extra attention.
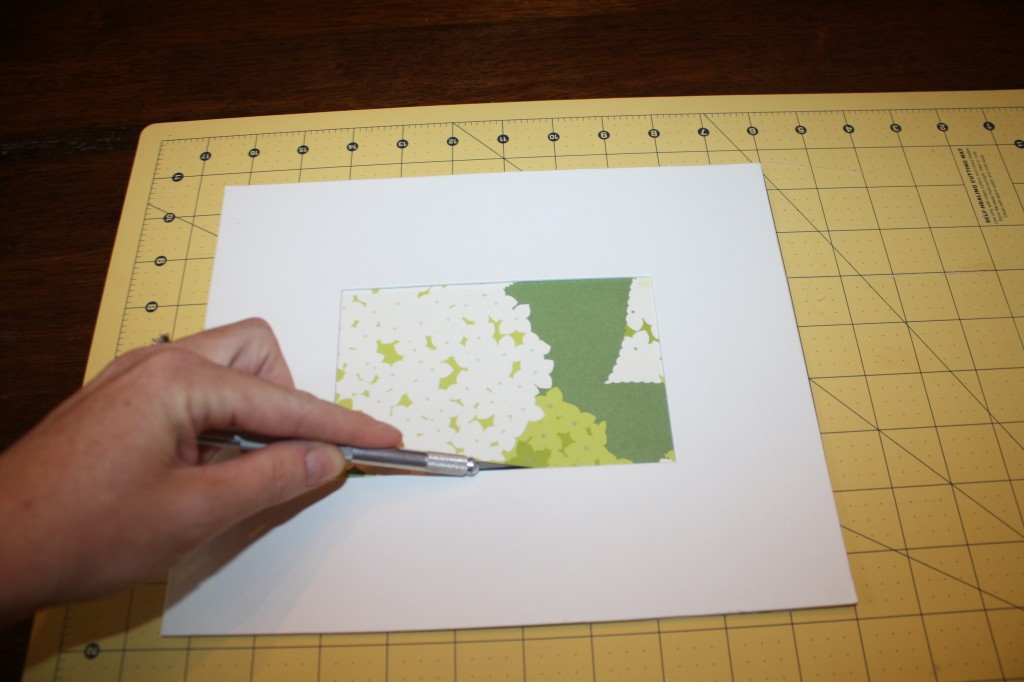
Step 6 – Place the paper over the mat, making sure the edges line up.
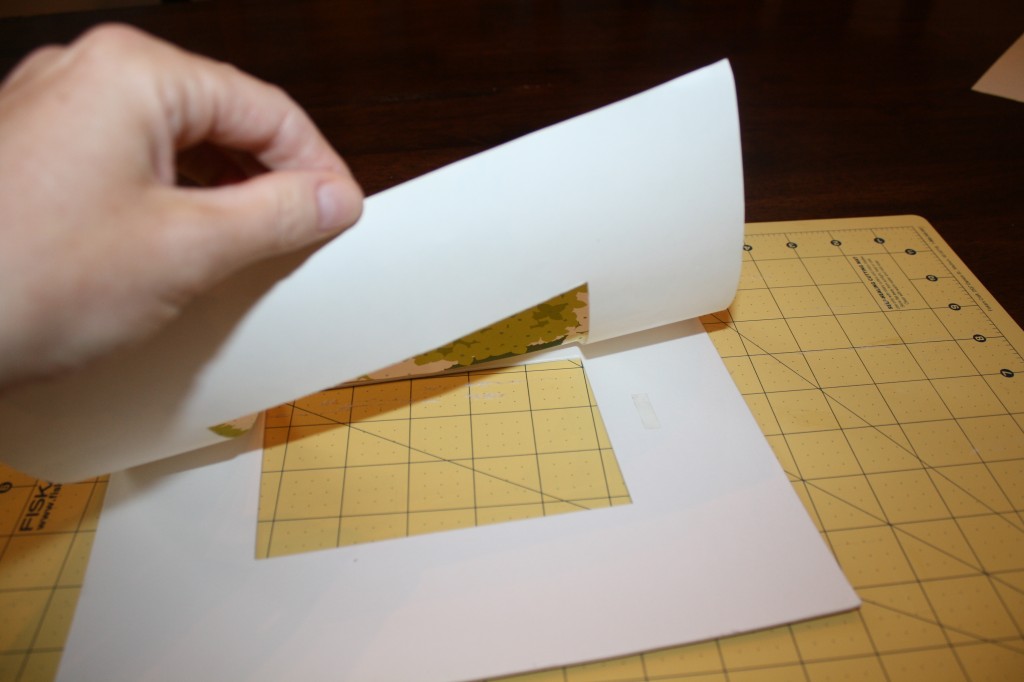
Step 7 – Put one piece of double-sided tape near the inside edge of the mat. Press down on the paper, adjusting as necessary.
Step 8 – Add more tape to secure the paper to the mat, and you’re done!
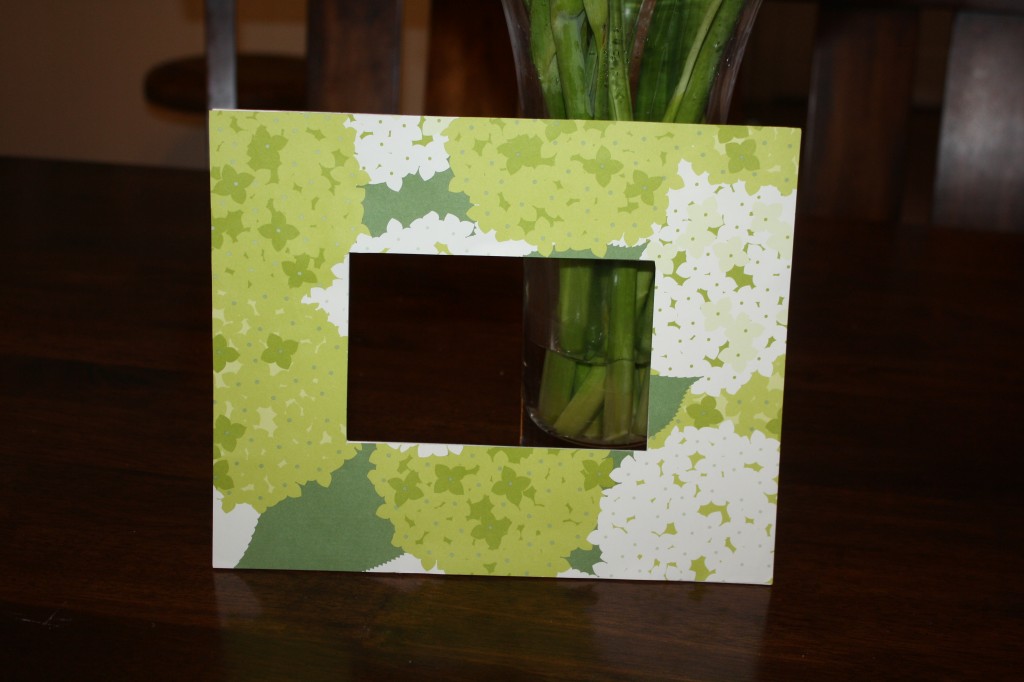
Note: The inside edges of some photo mats are beveled. In this case, you need to cut a small bit of extra paper from each side so that the bevel isn’t covered by your paper. Use the inside edge of the mat to get a clean cut.
Consider using coordinating papers for a series of framed photos – here’s an example of one I did for my daughter’s room.
This craft offers an easy and inexpensive way of bringing your favorite patterns into your home!
Thanks Bridget for this fun and easy project. If you are wondering where she found the paper she used check out Paper Source, definitely my favorite place to go for any decorative paper. Or, wrapping paper works too!
Enjoy the long weekend-we will see you back here on Tuesday!

