Remember my post on gallery walls? I was feeling so intimidated on how to hang one I would like, but this past weekend my husband and I put that behind us and we finally tackled this daunting project. After many hours of using a level, hammer and some nails–I think we “nailed” it…quite literally.
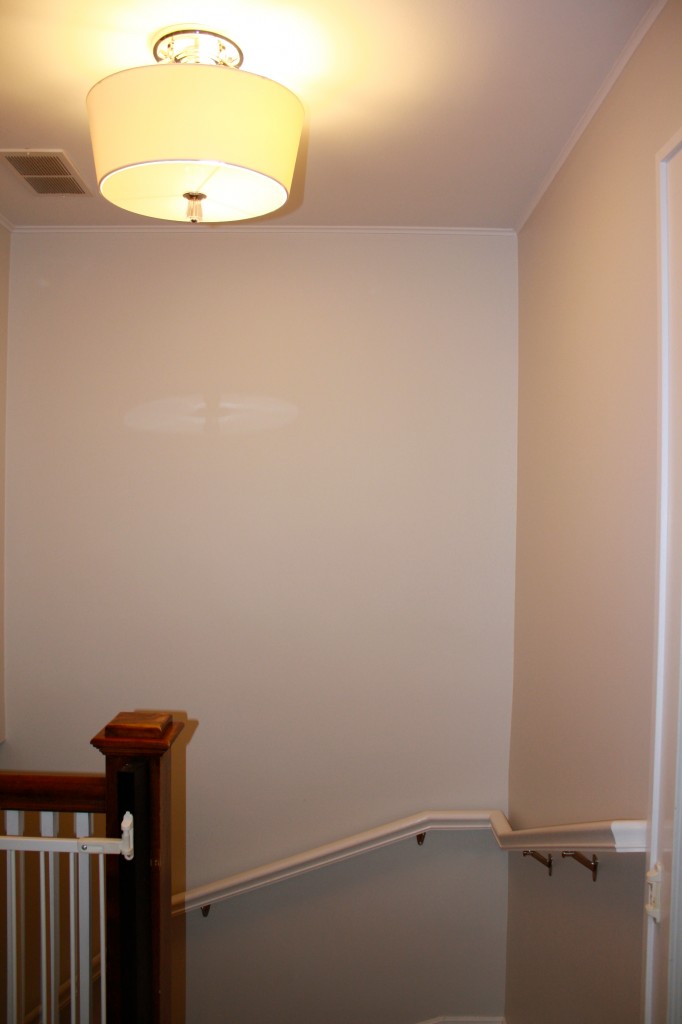
If you remember, my space at the top of the stairs looked like this–a big, blank wall.
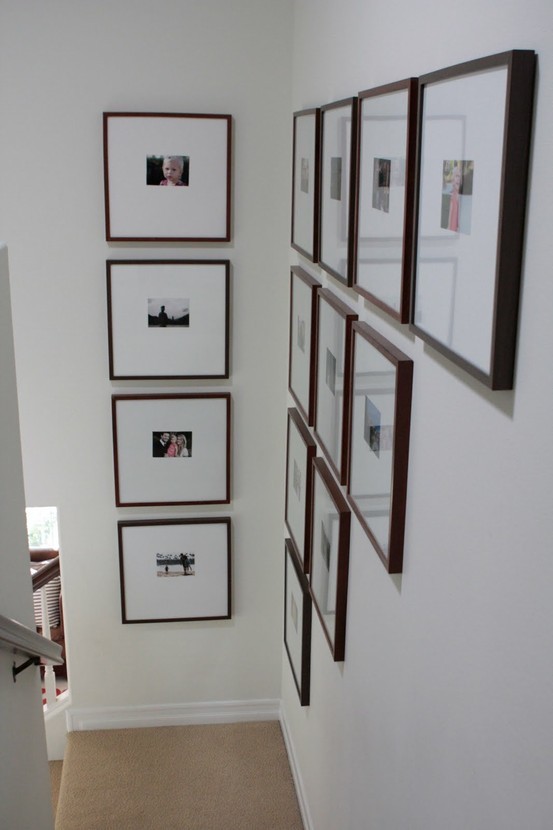
And here was my inspiration shot, although, my finished product ended up being very different. But when I looked at this photo my two takeaways were: One, I liked how the frames were hung with order and symmetry and two, the oversize white mats really made the photo pop.
You know I love a deal, so I bought frames at Pottery Barn when they were 20% off plus I did a google search and found another 15% off coupon. I found some similar ones at Target but they were only two dollars cheaper and they never had enough in stock at one time which would have meant multiple trips to purchase all of the frames that I needed for the space. I decided to bite the two dollar bullet and just buy them online at Pottery Barn and it would also save me the hassle of hauling them all home since frames always ship free.
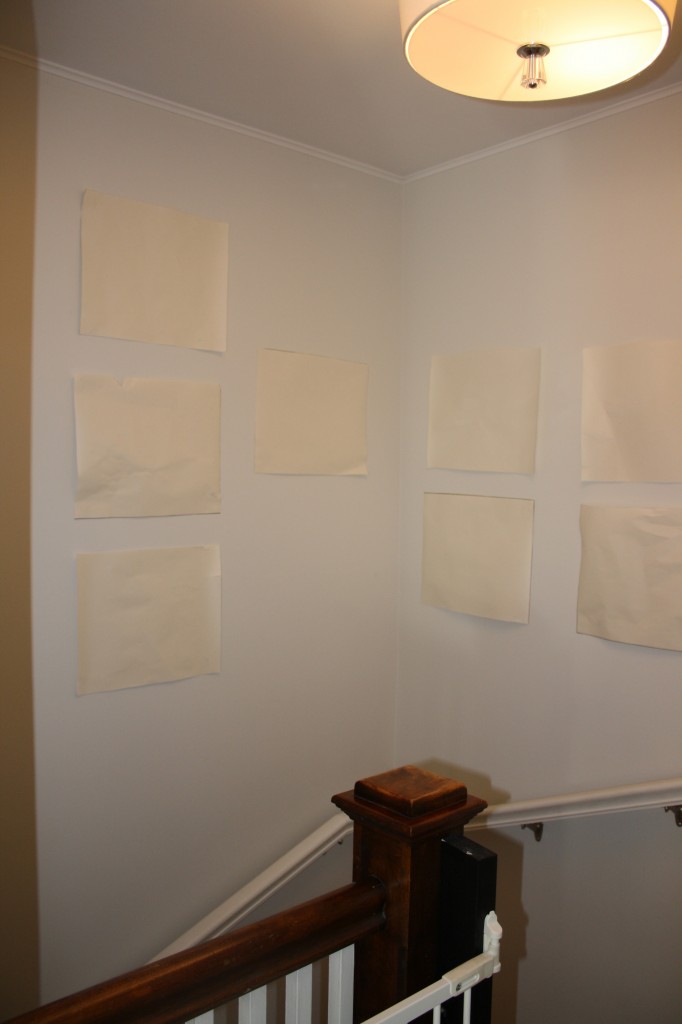
To prepare for the gallery wall, I traced the frame size on white paper and hung up in the hallway. I stared at this arrangement, had friends over to give me their opinion and re-arranged several times. Always a good idea to leave the paper outlines up for a few days (or in my case more like three weeks) to make sure you like the arrangement before nailing into a wall. Note: I didn’t trace the total number of frames I was going to hang, I just hung a few so I could get an idea on placement.
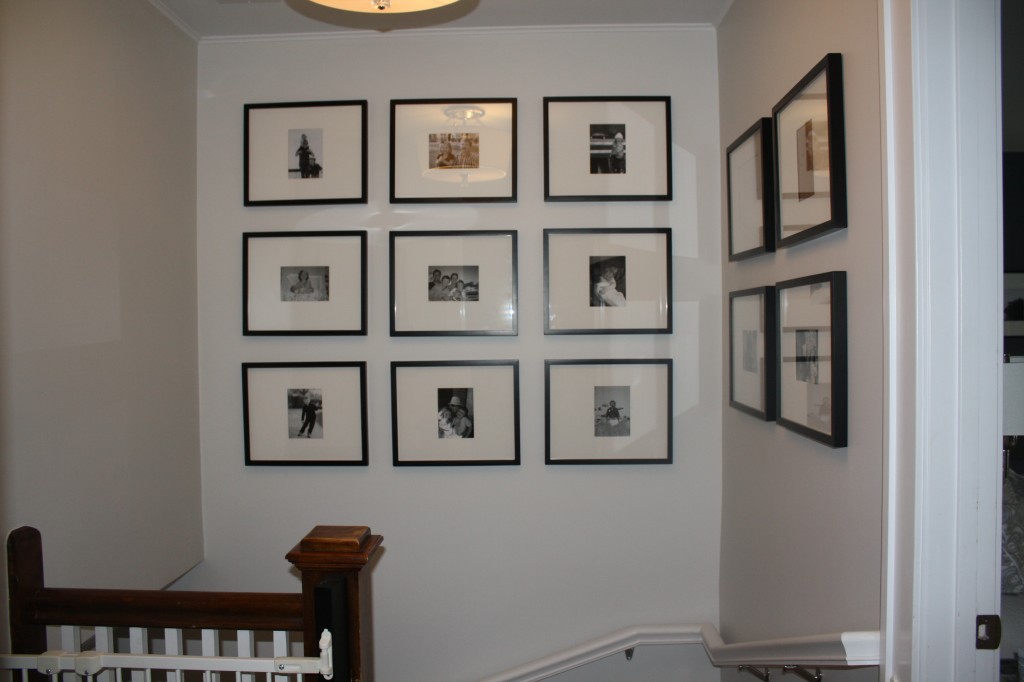
And, I’m happy to say it’s finally DONE! I couldn’t be happier. At first, I had the same number of frames on both walls but decided it was too many frames. I’m loving the way both walls don’t mirror one another exactly.
Because of the large number of frames, I didn’t want my photos to get ‘lost’ in the mix. To keep this from happening, I had large mats cut with a 5 x 7 opening. I chose to have openings cut for horizontal and vertical photos.
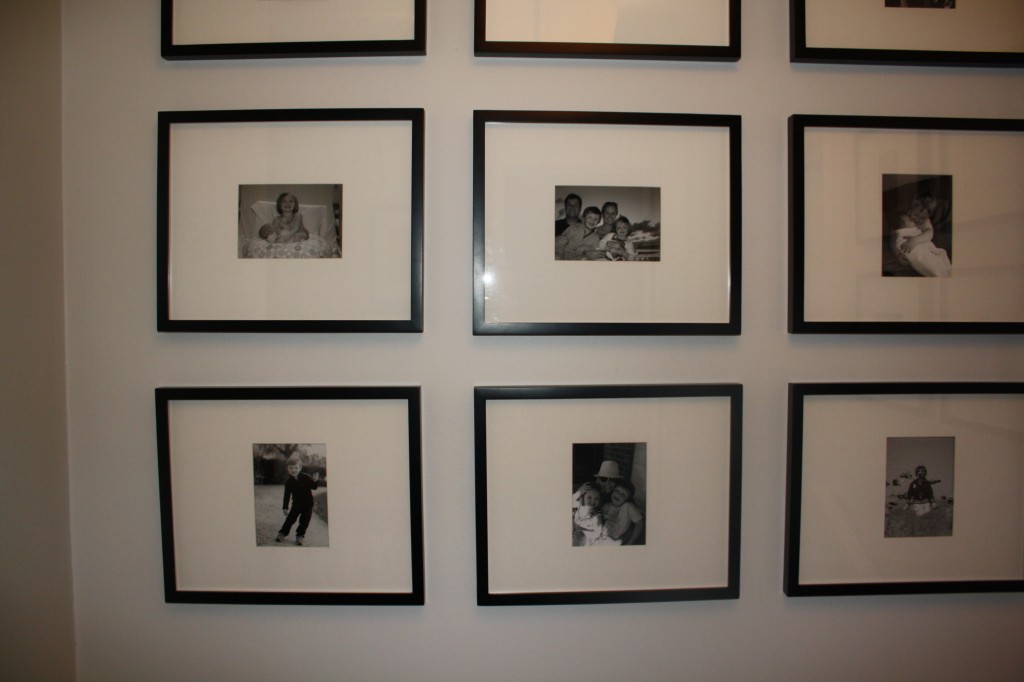
I had such a great time going down memory lane choosing photos. I must admit, at first I was also intimidated by how to choose the photos. I don’t have a ton of professional photos of my family but I have to say, I loved chosing the candid shots I took of our family. Everytime I look at the photo I don’t just see the photo but I instantly remember the place and all the other memories that happened along with the shot. Your photos don’t have to be professional–sometimes the best ones are the silly ones you took unexpectedly.


It looks so good! I agree that it works better to have a different configuration on each wall vs. a mirror image. A tip I used: get that blue sticky putty and put a small dab on the bottom inside corners of each frame so that they don’t slide around — otherwise you’ll be constantly straightening and re-straightening. Love how it turned out — congrats!!
Looks great!