Now that the kids are back in school, you might be finding yourself with a little more free time (or not!). If you are finding the urge to get that “junk” drawer organized, here are a few simple steps in helping you.
Let’s face it, we all have them…those drawers usually found in the kitchen that are shoved full of random items and gets stuck every time you try to open the drawer. Because it’s overwhelming, you decide to do the most natural thing, just shut it quickly and forget about it.
What if you could change your junk drawer into a “daily needs drawer” where all the items you use on a daily basis are neatly stored away AND that drawer could actually close? I swear–just FIVE simple steps and you can make it happen.
A junk drawer has such a negative connotation and if you call it a junk drawer, it becomes just that. So, call it your “daily needs drawer”, your “at my fingertips drawer” or your “odds and ends drawer”, anything besides the junk drawer.
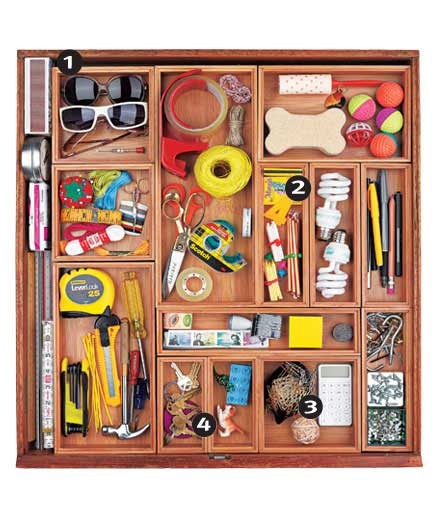
Here are a couple of my favorite shots of organized drawers.
I LOVE bamboo trays–they’re probably my favorite way to organize drawers. They look nice and come in several shapes and sizes so you can separate objects of different sizes. This is a great photo to give you an idea of some items that you might want to consider storing in your drawer.
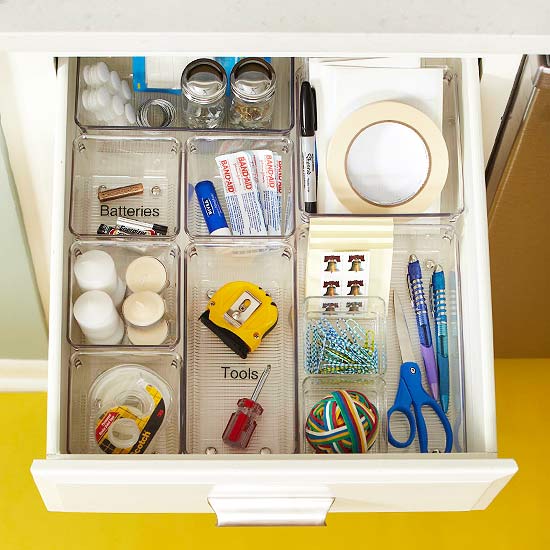
These clear, plastic containers come in many different sizes as well. It really just depends on which look you prefer. This is a smaller drawer so you can see what things are really essential if you don’t have a large drawer like the photo above.
And, here’s a shot of my own daily needs drawer
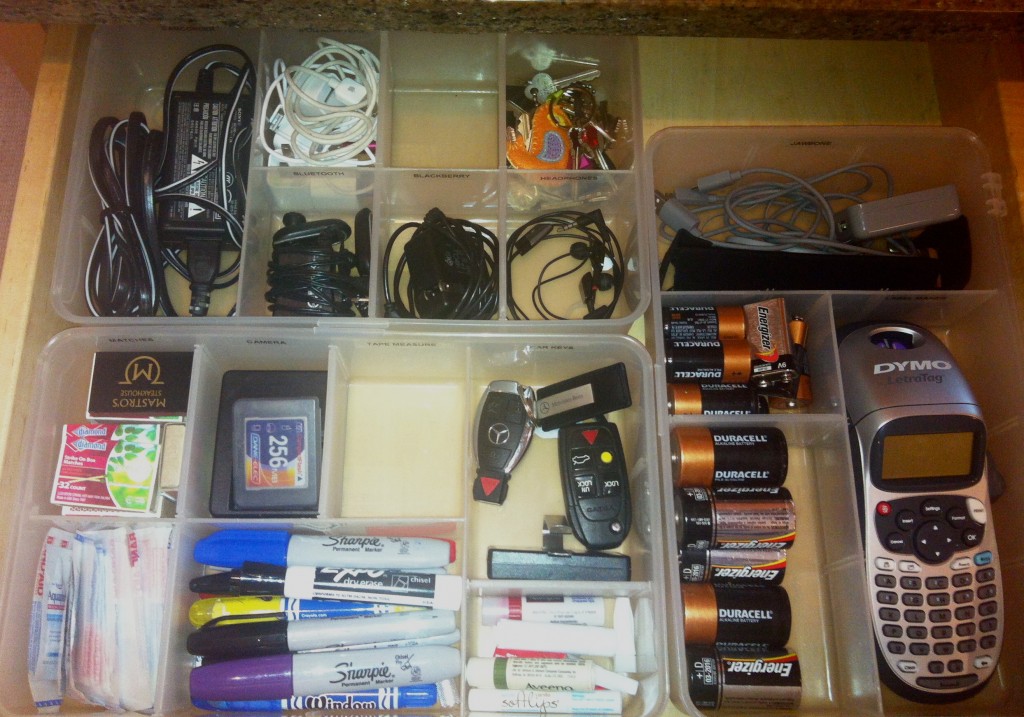
These are clear, plastic cases found at IKEA. I couldn’t find them online anymore but they don’t always have all of their products on their website. I found these in the office organizing section and they orginally came with a lid on top, which I took off. I love these organizers because the dividers slide out so that you can create all different sizes of compartments.
And, really, anyone can do this–case in point: I was so happy when Tessa asked me to help her tackle her junk drawer. I had been eyeing this drawer for some time and have always wanted to help her organize. BUT, I have learned to control my OCD organizing habits when going to friends’ houses. So, as our husbands were out celebrating Father’s Day Eve, we met up for a quick organizing task. Yeah, fun Saturday night!
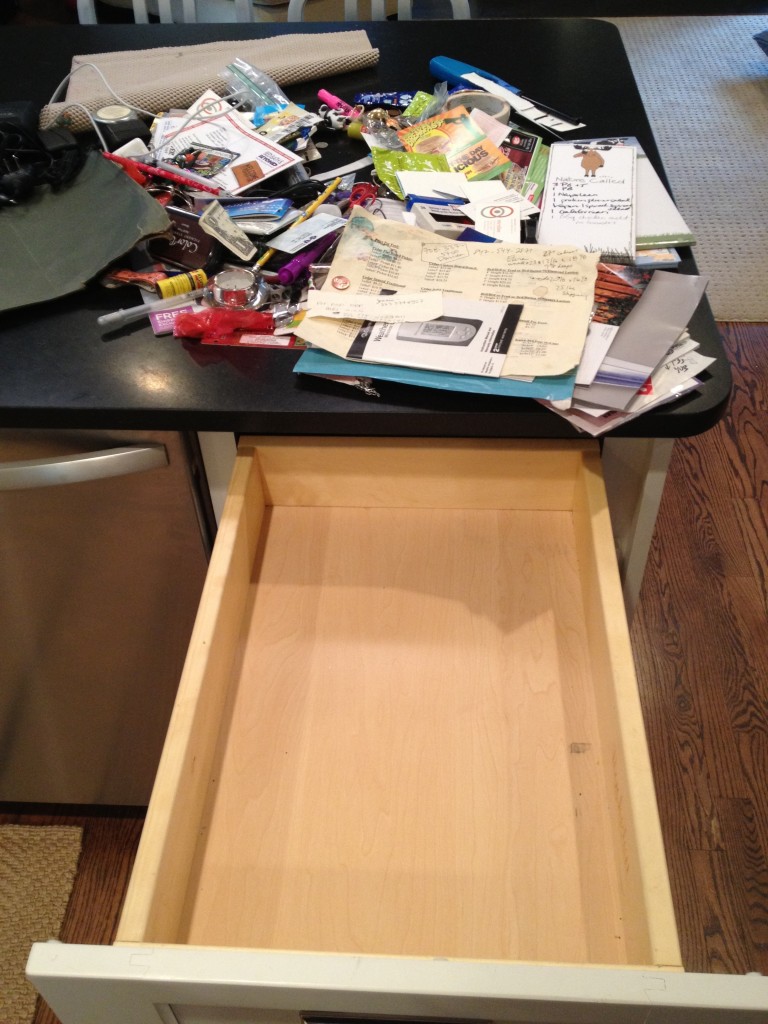
Here is a shot of her drawer before…
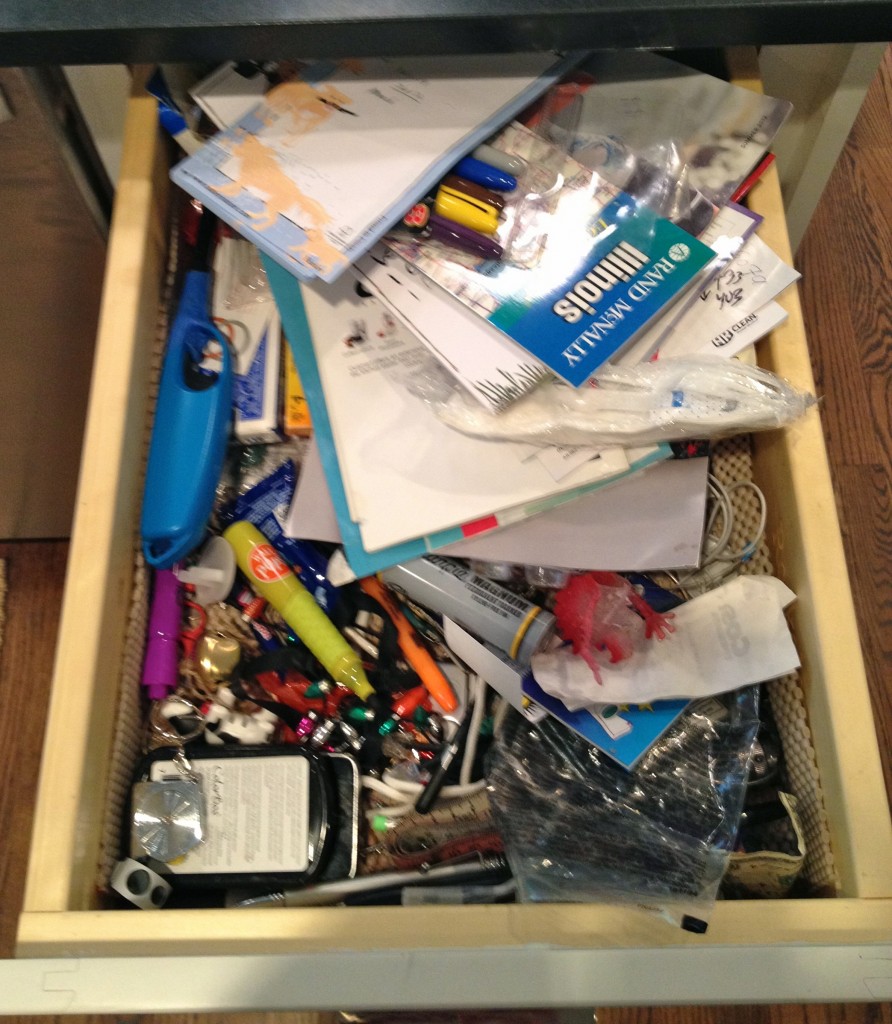
As you can see it was filled with lots of potentially useful things, but Tessa didn’t really know because every time she pulled out the drawer it got stuck. So I introduced her to the five steps of organizing a drawer.
STEP ONE: Empty out all contents of drawer
STEP TWO: Sort items into like categories.
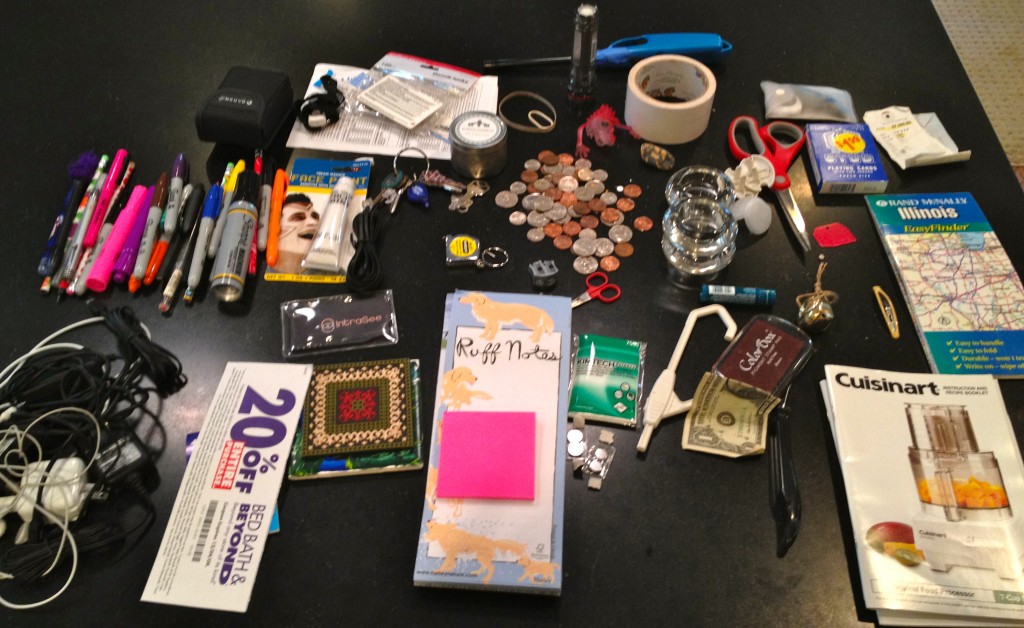
STEP THREE: Determine what your daily needs are and what you want from this drawer. For Tessa, she decided she needed paper, pens, charger, spot for her iPhone, place for change, flashlight, tape measure and a spot for her keys. These categories are going to be different for everyone. Think hard about what it is that you need at arms reach every day.
Just because it was in there, doesn’t mean it belongs in there. For instance, Tessa had coupons she stored in this drawer, but then never used them because they weren’t with her when she needed them. Instead of creating a spot for them in the junk drawer, we decided an envelope in the car would be a better place because then they would be with her and she wouldn’t have to try and remember the coupon before she walked out the door. Also, she had pair of binoculars in this drawer. While she did want to keep them, she realized that she only used them probably once a year. There was a better spot in her house for occasional use items.
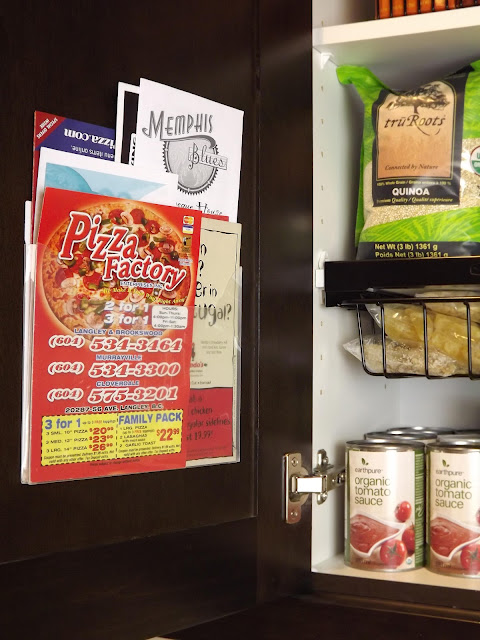
We also got rid of her take-out menus in this drawer. She decided to throw them out completely because she tends to look online when ordering food. For those of you that still like to keep the paper menus, what about a clear file mounted on the inside of a kitchen cabinet to hold all of your menus?
STEP FOUR: Now that she had established her categories, Tessa decided to use bamboo trays for organizing the items. When shopping for inserts, measure the length and width of your drawer and write down your items/categories that you are going to put in the drawers. Once you have this information head to any office supply store, or my favorite, Container Store, and do a layout in the store to see which organizers will best fit in your drawer.
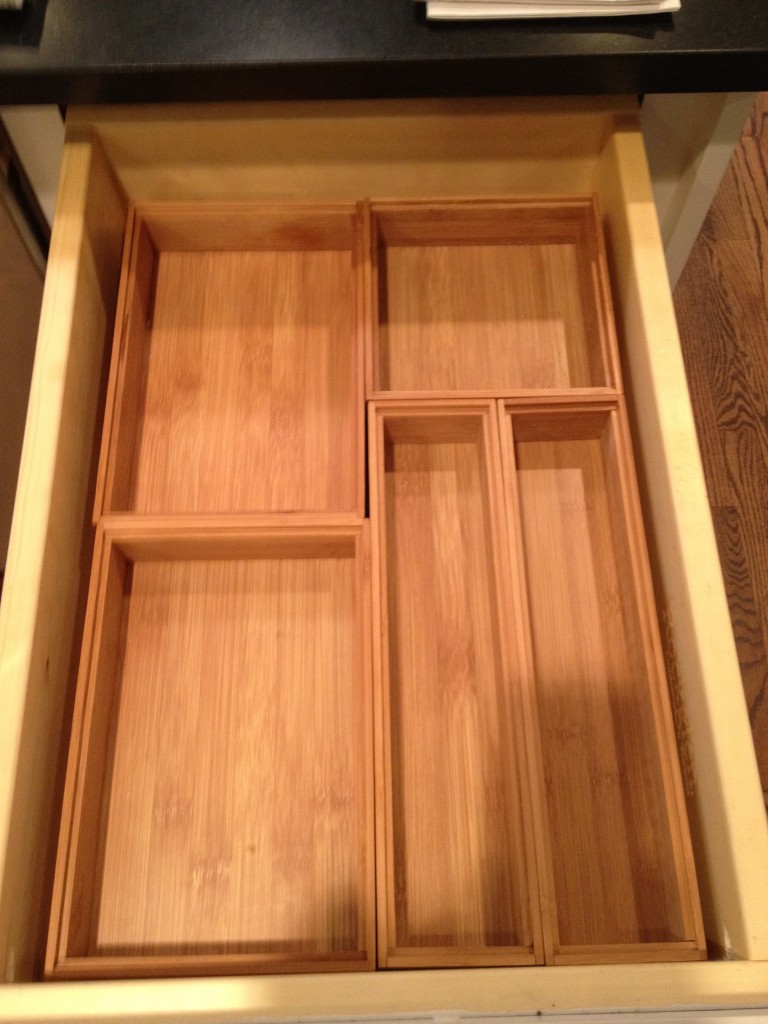
By the way, I should mention that we put down a backing so the drawers won’t slide around.
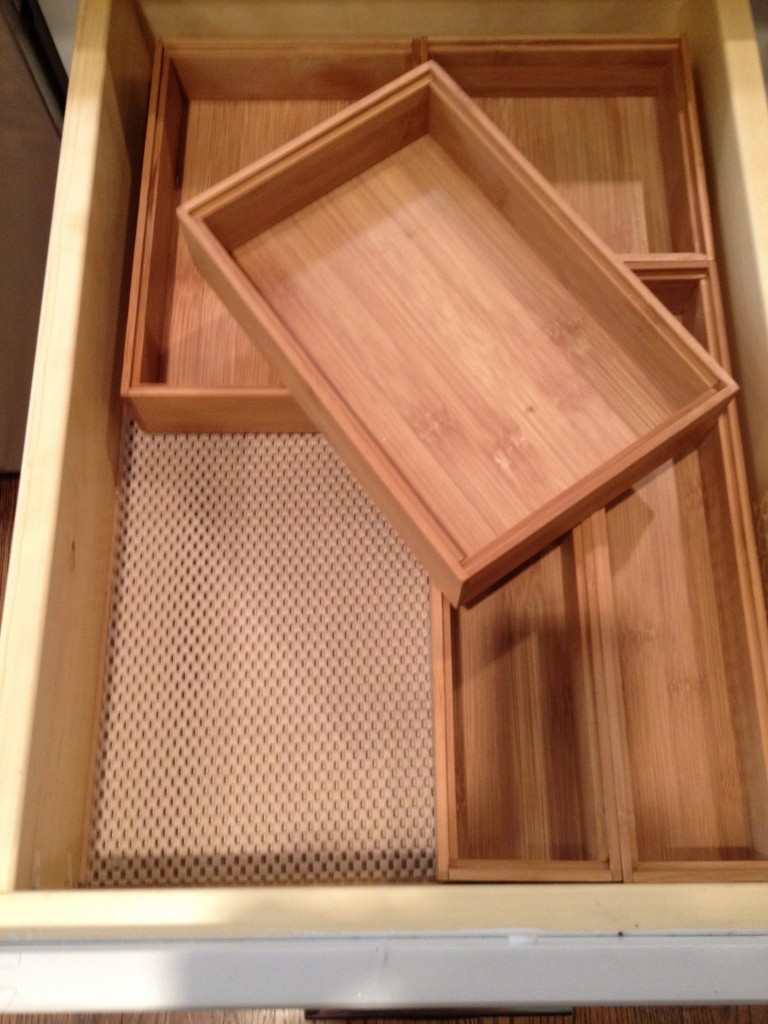
STEP FIVE (my favorite): Put items into their compartments.
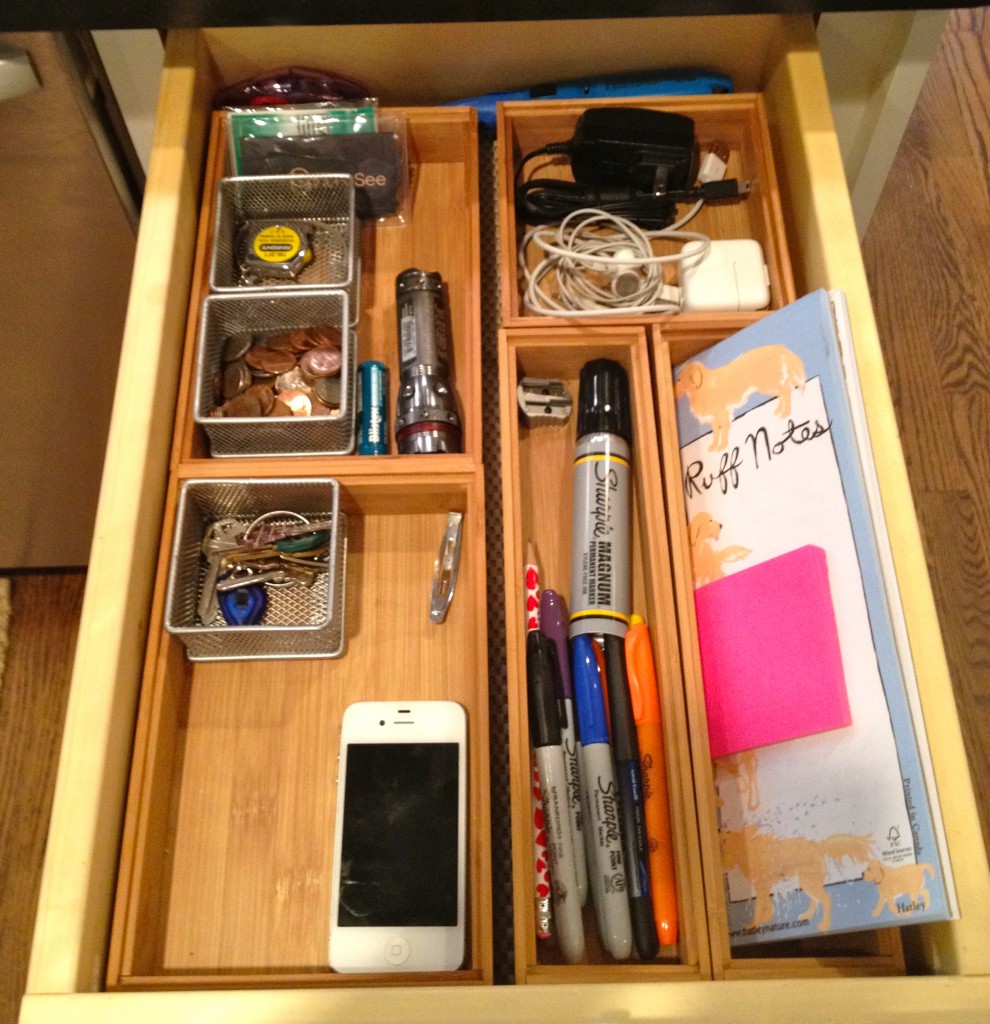
And the best part of the evening….check out what her husband had to say. A little early Father’s Day present to Tessa’s husband who has a bit of the organizing bug in him too.
Thanks Tessa for a fun (it was for me) Saturday evening! I can’t wait to tackle another drawer in your house soon.

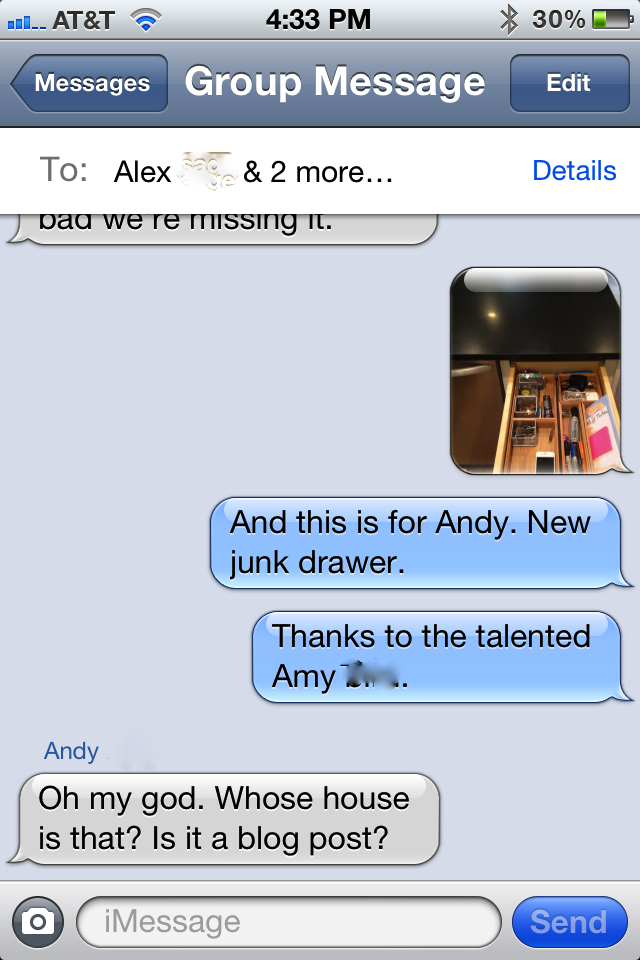

Wow — that is incredible! I am totally inspired now to do mine. And of course I can always use another excuse to go to the Container Store. But why do you both have so many Sharpies!?
Obsessed with Sharpies! I write on the kids’ lunches, drink boxes for camp, ziplocks…everything. And they get to choose the color so they feel like they have a little control. 🙂
my junk drawer is miniscule (only about 6″ wide and 12″ long) but this is inspiring…at the very least, i need to throw out/repurpose 75% of the pens in there! who needs 374 pens on a daily basis???
amy: you need to tackle t’s purse next. 🙂